[ad_1]
For the longest time, Microsoft Word had a virtual monopoly over the word processing game. If anyone had a writing project, they would often reach for MS Word to get it going. But over the last few years, Google Docs has emerged as a powerful alternative which has gained immense popularity and has even managed to replace MS Word in the digital lives of many users.
Google’s online word-processing service allows you to create and edit documents online. And unlike MS Word, it does so for free. It works so well that it has become our own go-to word processor for a bunch of different reasons — the biggest of which has to be its easy-to-get, uncomplicated interface, that is tailor-made for sharing.
Google Docs allows users to simply open the online processor and start their writing project without getting tangled in any digital white noise.
But do not let its plain looks deceive you. The app hides a number of very handy features and functions in plain sight that can make your writing journey even easier.
So, if you are a Google Docs user, here are 10 handy tips that can help you up your writing game:
Google Docs Tips: Change Font Size In A Jiffy
Every writer knows and will agree that writing may be difficult but it is the formatting of the document that can really be a pain in the neck. Highlighting, bulleting, and changing fonts can all be quite a tedious task.
But while using Google Docs, changing font size in your document can be as easy as pressing a bunch of keys together.
The word processor has a shortcut command to change font size and it’s a very simple one too. All you need to do is press the Command button along with Shift and the period (.) key to increase the size of the font in Docs and in order to decrease the size of the font you can simply press Command along with Shift and comma (,) key for Mac. For Windows, you will have to replace the Command key with the Control key and the rest will remain the same.
Google Docs Tips: Know Your Word Count Quickly
Most writers have a love-hate relationship with word count. But whether you love it or hate it, one has to keep the word count in mind while writing. On Google Docs you get a shortcut for that too.
For Windows, you have to press Control+Shift+C, while for Mac you have to press Command+Shift+C to get the exact word count details of your document.
You can also go to Tools on the top of your document, go to Word Count from there and then if you wish to see the live word count of the document, just tick the little box in the same window next to Display word count while typing. A small box will appear on the bottom of your screen with the live word count even while you work on the document.
Google Docs Tips: Fix Formatting By Just Tapping A Roller
Ensuring that formatting remains uniform throughout the document can be a pain. It can be especially exhausting to have to fix font size, colour, type, and paragraph style at different places in the same document to give it that ‘uniform’ look.
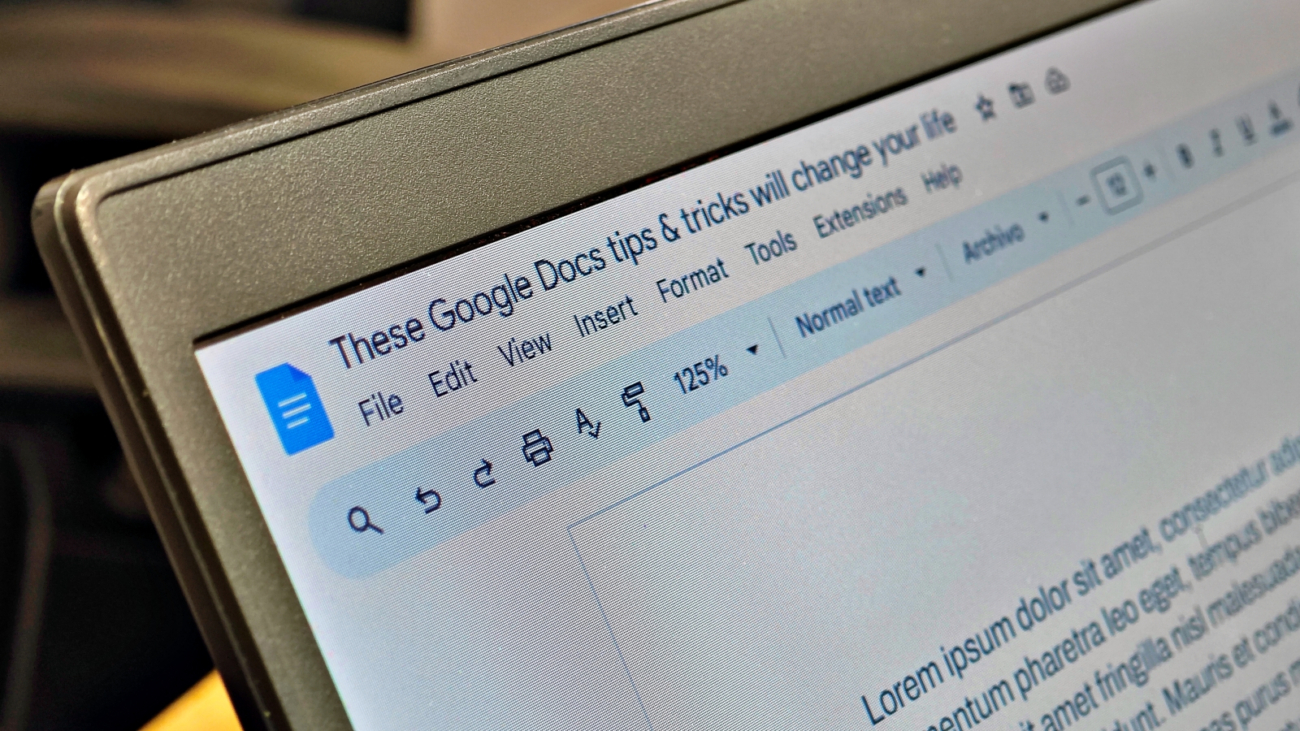
Well, instead of changing formatting section by section (sometimes even word by word, depending on how complicated things have got), you can simply use a Google Docs tool to make your formatting life easier — the paint roller icon on the toolbar above the document. Just select the text whose formatting you want to be copied first, then click on the paint roller icon and then finally select all the text that you wish to reformat and voila! It will be done.
Google Docs Tips: Add More Fonts To Your Writing Arsenal
If the fonts present in the font drop-down list are not quite meeting your needs, on Google Docs you have the option to add more fonts to your list.
All you have to do is go to the fonts list and select the first option, More fonts. This will open up a list of new fonts on your screen. Pick the ones you like and add them to your list so that you do not have to look for them later.
Google Docs Tips: Insert Images From Anywhere
Google Docs is a word processor but it is not just words you can put in the documents here. It also allows you to add images to your document to make it more interesting and informative. Doing so is pretty simple as well. All you have to do is go to the Insert option in the menu and click on Image.
Sounds routine? Well, Google Docs literally gives you the option to choose images from just about anywhere – you can upload it from your device, from the Web, or select it from Google Drive or Photos amongst some other options.
Google Docs Tips: Use The Dictionary Within Docs
Oftentimes when we are editing or writing a document we come across a word that we might not be too sure about. Now one has the option to go to their browser, open another webpage, type the word and then look for its meaning. Or, you can do it all while staying right in the document.
Google Docs allows you to look up the meaning of a word without having to leave Docs. Just place the cursor on the word whose meaning you wish to find out, and press Command+Shift+Y on Mac, and Control+Shift+Y on Windows.
The meaning of the word will appear on a side panel on the right, using Google Docs’ own inbuilt dictionary.
Google Docs Tips: Translate Your Document Into A Different Language
One of the most handy tools on Google Docs, this allows you to change a document into a different language altogether. There are over 133 languages that one can choose from the list, giving one the option of making a document accessible to diverse audiences. To translate the content, all you have to do is go to Tools in the menu and then select the Translate Document option.
Once you click on it, you will get a drop-down list of alphabetically arranged languages available for translation. Scroll and find the one you are looking for, click on Translate, and Docs will deliver a translated version of your document in a different window, preserving your original document.
We would advise against using the translation for official purposes (it can have its flaws), but it more often than not is a useful option when you want to get a few basic points across.
Google Docs Tips: Add People And Work On The Same Document In Different Roles
This is a very popular and useful feature of Google Docs. You can not only share your documents with another person, but you can also add multiple people to the same document and work simultaneously on the same file.
This is a feature especially useful for teams working remotely on the same project. To use this feature, all you have to do is click on the Share icon present on the top right side of your document, in the blank bar. You can then start typing the names/ emails of the people you wish to add to the document and then hit the Done button. And just as easily the document will be open to all the people you have given access to.
The interesting part is that you can allot different roles to different people — some can edit, some can comment, and some can only view.
Google Docs Tips: Share Specific Parts Of The Document
If there is a part of the document that needs the attention of a specific person, you can use the ‘Tag’ feature of Google Docs to get the attention of that particular person.
In order to do this, you simply have to select the text you wish to be seen (if you want them to see the entire document, just share it as we have shown previously), and right-click and hit control at the same time.
From the options that appear, select Add comment and then proceed to add the comment, and then simply use @ and type the person’s name in the box that pops up. If they already exist in your contact list, their name will pop up. If not, you can also add a new person by writing their email.
You can choose to add a comment too if you wish, but just put an @ and type the person’s name and they will be tagged to that particular part of the document and will be able to see it.
Google Docs Tips: Publish The Document As A Web Page
If you have created a document on Google Docs, you can actually transfer it to a website as a proper web page.
All you have to do is go to the File option in the menu, choose the Share option, and then opt for Publish on Web. You will then get the option to Link or Embed your document.
Choose Link if all you want to do is give others a link where they can see your document on the Web (no need to share the document, just send them the link and they will see it in all its glory online).
If, however, you want your document to be part of a website, then opt for Embed and then cut and paste the code that is generated. This can be pasted in the code for the website on which you want the document to appear.
Just hit the big blue Publish button after choosing your option.
[ad_2]
Source link


