


[ad_1]
While Google Docs is preferred by tech-savvy users who like to work online, Microsoft Word continues to be the more popular choice in educational areas thanks to its powerful features. On the surface, the application is easy to use and understand. But spend some time with it and you’ll quickly realise that there’s a whole lot more depth to it. Once you’ve mastered the basics, you’ll want to check out the following tips and tricks we’ve collected to improve your editing experience.
Tell MS Word what to do
 Microsoft Word’s “Tell me what you want to do” field
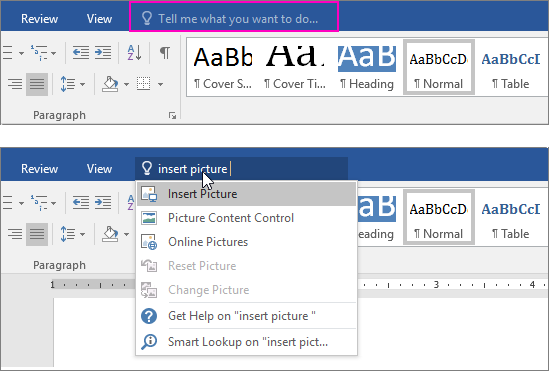
Not all Microsoft Word features are in plain sight – some require you to navigate through multiple toolbars and menus before you finally arrive at them. Thankfully, newer Word versions come with a new “Tell me what you want to do” field at the top of the toolbar, simplifying this process. You can use this function to find what you want to do, get to features, or perform an action.
A neater way to select text
Dragging and highlighting may be the most popular choice for text selection, but you don’t need to follow the crowd when there’s a far quicker method. Double-clicking on any word will highlight it while triple clicking on any part of your copy will select the entire sentence/paragraph/section.
No more repeat backspace taps
Instead of repeatedly slamming the backspace key and annoying co-workers around you, you can use a neat trick that involves the Ctrl key. Simply hold down the Ctrl key and tap backspace to erase entire words at a time – no more letter-by-letter deletion. Meanwhile, holding down backspace with Ctrl will remove bigger chunks of text.
You can also ace your text selection similarly by holding down the Shift + Ctrl keys and using the arrow keys, instead of your mouse. Watch as the cursor slickly glides across your document, leaving a trail of highlighted text.
Set a default font on MS Word
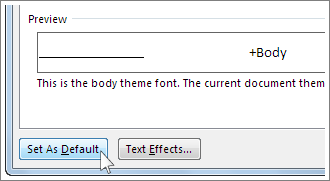

Software is designed to listen to your commands and not the other way around, so why let Microsoft dictate what font to use? Live life on your own terms and set a default font using the steps below.
- Make sure that the currently set toolbar is the Home tab
- In the fonts section, click on the Font Dialog Box Launcher
- Here, change the attributes per your liking and hit “Set as Default”
Hide the toolbar atop
The toolbar atop is one thick element that eats up a lot of your viewing area. For an interruption-free writing experience, you can hide the whole thing by pressing Ctrl + F1. And when you wish to change something up, just bring the toolbar back into view by pressing Ctrl + F1 again.
Generate random text
If you ever feel the need to add more text to your document, then Word has got you covered. Place the cursor where you wish to see the random text start and type =RAND() . “But why?” you may ask. Well, as an example, random text can come in handy when you wish to check how a particular font would look on your copy before you get started with it.
Improve your writing with Grammarly for MS Word and Outlook
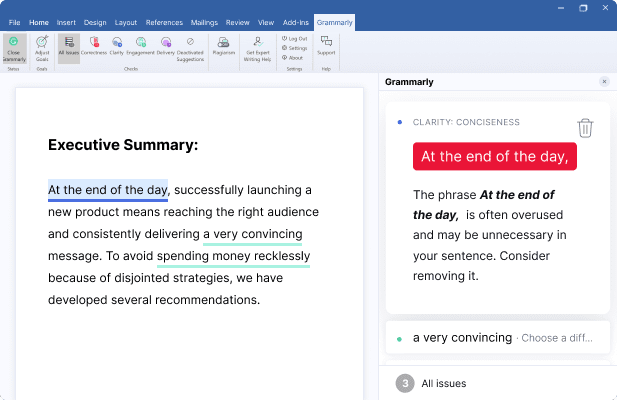 Grammarly for Windows is a separate app from the web browser extension version
While Microsoft Word does highlight spelling mistakes and grammatical errors (to a degree) with colour-coded zig-zag lines, it does not really help guarantee 100 per cent accuracy. To iron out the remaining kinks and enhance your writing, you could use Grammarly for Windows. Aside from the basics, the cloud-based typing assistant will also review clarity and how engaging your copy sounds.
[ad_2]
Source link